Tips and Tricks
*page under construction*
Technique:
-
How to Cut and Break Glass Tutorial
-
How to Foil Glass
-
How to Apply Copper Foil Using Glastar Hand Foiler Tutorial
-
How to Solder Like a Pro with Trouble Shooting
-
How to use Patina
-
Mosaic Instructions and Tips
-
Tips on Adhesives
-
How to Etch Glass
-
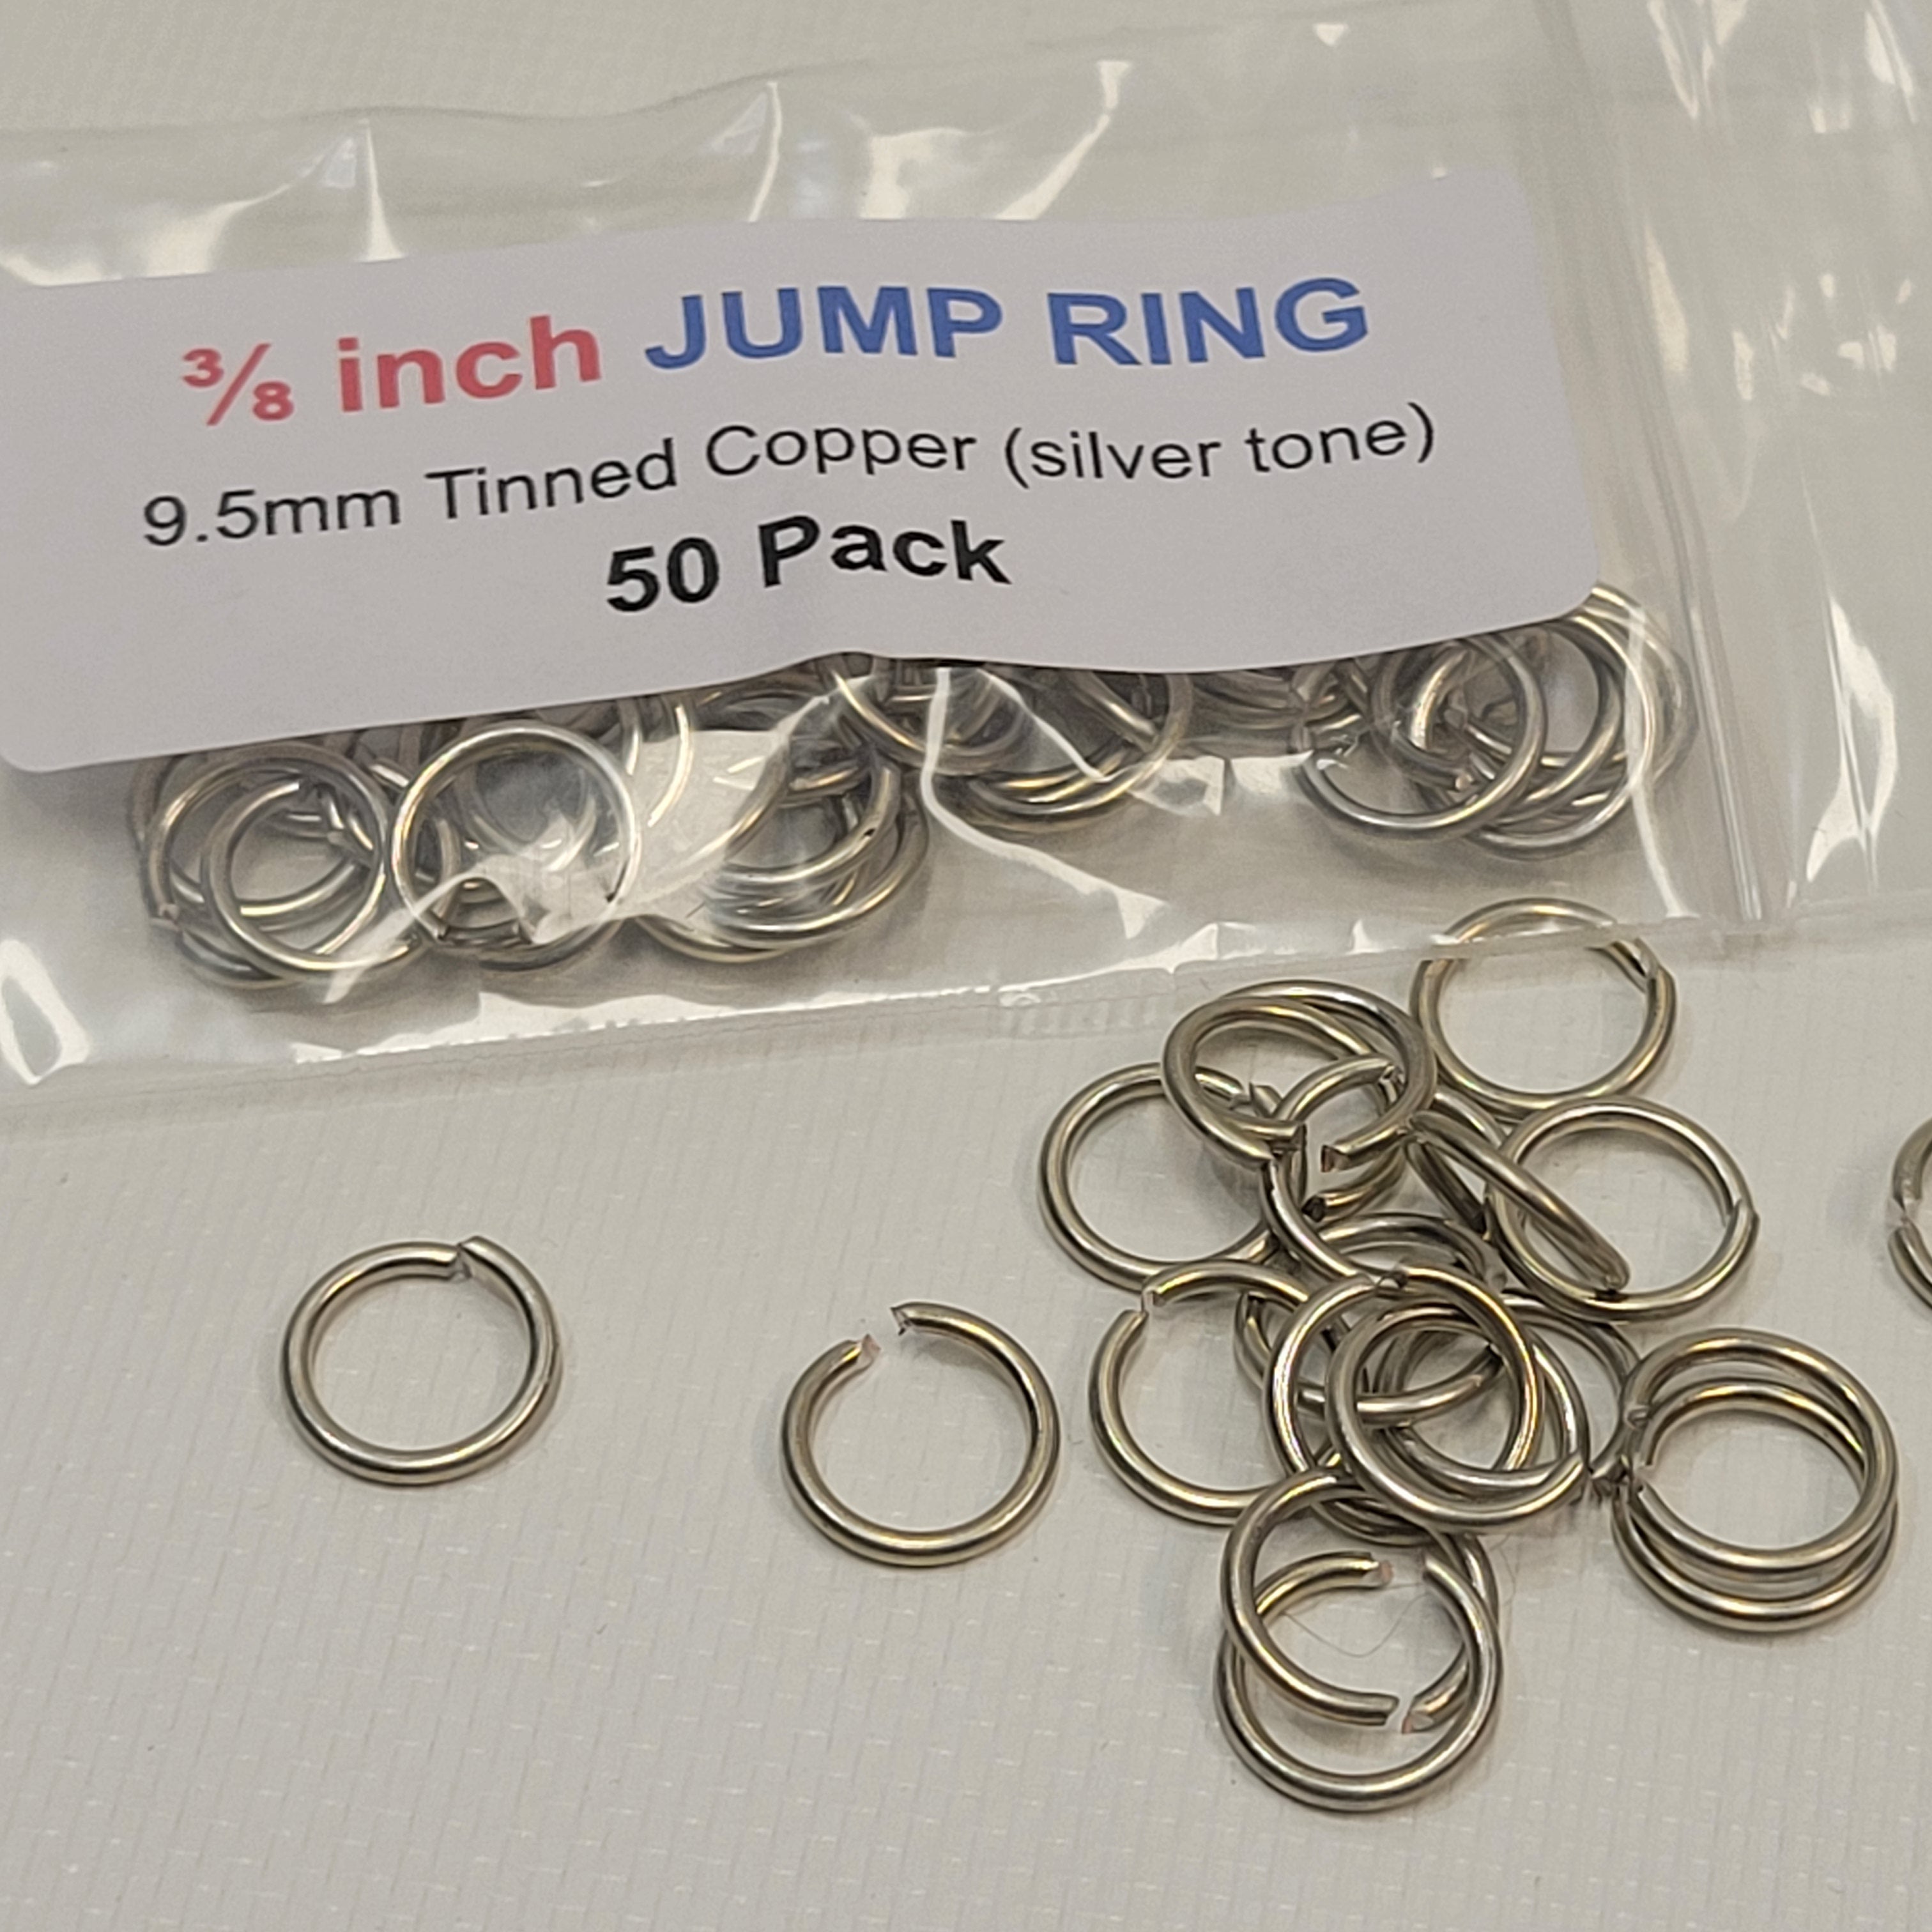
How to Attach a Jump Ring
-
Box Making Tips
-
Heat Moisture Issues Between Glass
-
There are BLACK SPECKS in the solder and on the iron tip?!
-
Free (G2) Generation 2 Bottle Cutter Instructional Videos
-
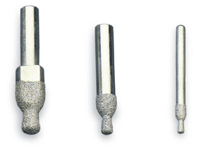
How to Drill Holes in Glass Instructional Videos/Image
Project Instructions:
-
How to Make a 3D Glass Bevel House
-
How to Make a 3D Glass Bevel Triangle
-
Easy Beginner Project: Making a Diamond Bevel Star/Snowflake
-
How to make Shadow Boxes
-
Free Jewelry Pendant Instructional Videos and Tutorials
-
No Solder Pendant Instructions/ Tutorial
There are BLACK SPECKS in the solder and on the iron tip?!
even though the tip may look black . . .
If when you wipe & re-tin you see all silver, it's good.It's BAD if when you do those steps and you see missing metal, holes, etc.
Here's exactly what I instruct everyone to do:
1. Fold a wet rag into a small square so you have loads of folds to stick the Hot Tip inside folds regularly. I find the wet rag works great & there are many folds to go inside as you are soldering.
2. Occasional press hot tip on the sal block with some solder already on top. Pressing the hot tip into that solder ball on top of the block is re-tinning your tip
3. Wipe again.
There will always be a little bit of black specks that can slip into the solder as you are soldering but to minimize the black specks use 0000 super super super fine steel wool on the finished solder. This will not scratch the glass or solder, but will clean it wonderfully!
As long as you are doing those steps above the solder will be cleaner AND the Iron Tip will last longer.
[caption id="attachment_2074" align="aligncenter" width="200"] Large Block (8 oz) of Sal Ammoniac[/caption]
HEAT MOISTURE ISSUES BETWEEN GLASS
So the foil not sticking well enough...
Here are the TOP 3 REASONS this could happen:
1. Glass is not clean. Clean glass with alcohol before foiling. THIS eliminates any oils (mainly from our hands).
2. Not burnishing enough OR (believe it or not) burnishing TOO MUCH. Going over & over AND OVER pressing that foil, can destroy the adhesive backing.
3. Soldering TOO much. Going over AND OVER foil with the Soldering Iron Tip trying to get that PERFECT solder.
There are many who've dealt with the seepage (water marks or photo / art damage) issues after soldering. I've gotten great answers from several, but the trick is for you and I to figure out what's up with your particular situation. These will help guide us.
Holly said this: "I used a Krylon photo DULLING SPRAY on my photos and I am able to make them without the splotches under the glass."
Alistair and Kathy said this: "Heavier paper stock and quicker soldering solved the issue of heat transfer"
Courney said this: "If I use Kodak Matte Photo paper it works perfectly, anything else would cause heat transference for me.
Shireen said this: "I use Matte card stock, because I've found the pictures were adhering themselves to the glass (heat transference) . I found that what works too is lifting the glass up from the image with the tiniest of rhinesontes (pre-glued) which can be purchased through scrapbook stores. You can either put them in the corner where the copper tape and solder will cover them or make them a part of the design. Glitter is another option."
Kim said this: "I use a heavier photo stock. I know when I use my epoxy spray sealer to protect picture so ink won't smear."
 Flat Nylon Fid for Burnishing
HOW TO MAKE SHADOW BOXES
To make the "shadow box" look with keys, rhinestones, jewels, etc. use 1/2 inch wide foil (Black back looks best). It's super easy & just takes practice. You put 2 pieces of glass together with whatever object you’d like in the center balanced between the glass.
Foiling with the wide 1/2 inch foil you’ll be able to get it held together quickly by Folding Foil over the glass edge as soon as you begin sticking it down. Start with a smaller object that's not as bulky to practice. You'll get the idea.
Flux & solder.


Free Instructional Videos on how to make soldered jewelry pendants
http://www.youtube.com/watch?v=ryyGqbyaDIA&feature=related
http://www.youtube.com/watch?v=U-r308MocrU&NR=1
http://www.youtube.com/watch?v=OcyOL3KUpkg
http://www.youtube.com/watch?v=VAuWcWGrPcg
 Complete Kit for Solder Jewelry Art with Haako Temp Control Iron


